
How to Install an RV Water Softener: A Comprehensive Guide
When it comes to enjoying a comfortable and stress-free trip in your recreational vehicle (RV), having access to clean and soft water is essential. Hard water, which is rich in minerals like calcium and magnesium, can cause various issues such as clogged pipes, stains, and reduced efficiency of appliances. To avoid these problems, installing an RV water softener is highly recommended. In this article, we will provide you with a step-by-step guide on how to install an RV water softener, ensuring you have a continuous supply of soft water during your travels.
1. Understand the Basics of RV Water Softeners
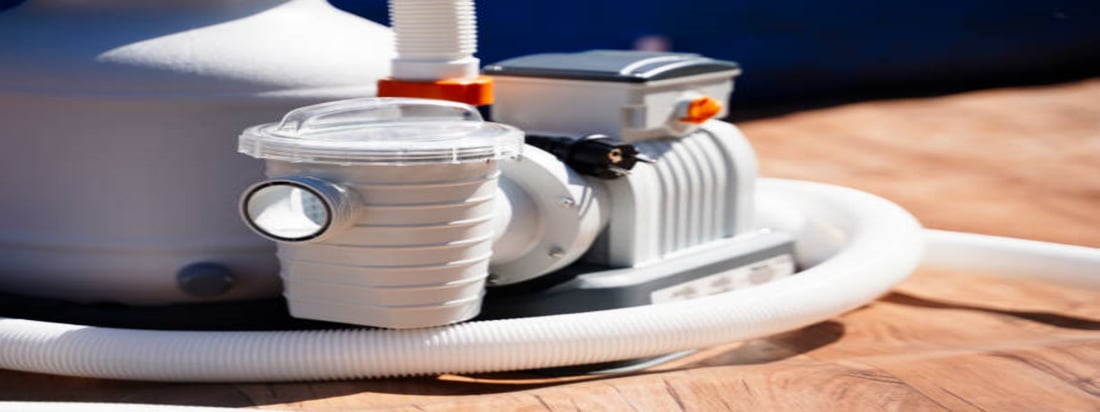
Before diving into the installation process, it's crucial to understand the basics of RV water softeners. These devices work by removing minerals from the water through a process called ion exchange. They typically consist of a tank filled with resin beads that attract and trap the minerals, leaving the water soft and free from harmful deposits. Being aware of how they function will help you make informed decisions during the installation.
2. Gather the Necessary Tools and Materials
Now that you have a good grasp of RV water softeners, gather the necessary tools and materials for the installation process. Some common items you will need include a water softener unit, hoses, clamps, Teflon tape, a wrench, and a utility knife. It's always a good idea to check the specific requirements of your chosen water softener model to ensure you have everything you need.
3. Choose an Ideal Location for the Water Softener
The next step is to find an ideal location to install the water softener in your RV. Look for a spot that is easily accessible and allows for proper connection to the water supply and drainage system. Keep in mind that the water softener should be installed before the water enters the hot water heater to maximize its effectiveness.
4. Prepare the Water Softener Unit
Before connecting the water softener, prepare the unit by following the manufacturer's instructions. This may involve rinsing the resin beads, adding salt or potassium to the brine tank, and setting the control valve to the appropriate settings. Taking the time to properly prepare the water softener will ensure optimal performance and longevity.
5. Connect the Water Softener
Now it's time to connect the water softener to your RV's water supply system. Begin by shutting off the main water supply and relieving any pressure in the lines. Connect the inlet and outlet hoses of the water softener to the appropriate water lines using clamps. Apply Teflon tape to ensure a watertight seal. Take note of the flow direction indicated on the water softener unit and connect the hoses accordingly.
6. Install the Bypass Valve
Installing a bypass valve is an important step that allows you to bypass the water softener when necessary. This is particularly useful when you want to conserve salt or potassium during short trips. Follow the instructions provided with the bypass valve kit to properly install it in your RV's water system.
7. Check for Leaks and Test the System
After connecting all the necessary components, it's crucial to check for any leaks before fully operating the water softener. Open the main water supply and carefully inspect all the connections. If any leaks are detected, tighten the connections as needed. Once you're confident that there are no leaks, turn on the water softener and let it go through a regeneration cycle to ensure proper functioning.
8. Maintain and Clean the Water Softener
Regular maintenance and cleaning are essential to keep your RV water softener in optimal condition. Follow the manufacturer's instructions for routine maintenance, including replacing the resin beads, cleaning the brine tank, and checking the salt or potassium levels. By properly maintaining your water softener, you can enjoy the benefits of soft water throughout your RV adventures.
9. Consider Professional Installation
If you're unsure about installing an RV water softener yourself or simply prefer to have it done by a professional, consider hiring a certified RV technician. They have the expertise and experience to ensure a proper and efficient installation, giving you peace of mind during your travels.
10. Conclusion
Installing an RV water softener is a worthwhile investment for any RV enthusiast. By following these step-by-step instructions, you can enjoy the numerous benefits of soft water while on the road. Remember, proper installation and maintenance are key to maximizing the effectiveness and lifespan of your RV water softener.