
Easy DIY Installation of Laundry and Shower Filters
Laundry and shower filters have become increasingly popular in recent years due to their ability to remove impurities and chemicals from the water. These filters remove everything from chloramines, chlorine, and fluoride to sediments and heavy metals. Installing these filters may seem daunting, but with the proper guidance, it is an easy DIY project that can be done in an afternoon.
Why Use Laundry and Shower Filters?
One of the primary reasons people install laundry and shower filters in their homes is to improve the quality of water. If the water in your area contains harmful chemicals, sediment, or bacteria, you may be at risk for a range of health problems. A shower filter, for example, removes chemicals like chlorine that can damage the skin and hair by stripping it of natural oils, causing it to become dry and itchy.
What Types of Filters are Available?
Before you start your easy DIY installation of laundry and shower filters, it is important to know what type of filters are available. Laundry filters can be attached to your washing machine's water supply, while shower filters are installed between the showerhead and the pipe. There are also whole-house filters that treat all water in your home, including kitchen faucets and bathtubs.
Gather Your Supplies
Now that you know what type of filter you need, the next step is to gather the necessary supplies. For a laundry filter, you will need a filter housing, a filter cartridge, and a few wrenches. For a shower filter, you will need the filter cartridge, a Teflon tape, and a wrench. It is important to check the manufacturer's instructions for any additional tools or supplies that may be needed.
Installation for Laundry Filters
Start by turning off the water supply to your washing machine. Then, use a wrench to loosen the connections on the water supply lines. Connect the filter housing to the water supply lines, and make sure it is installed vertically. Attach the filter cartridge to the housing, and tighten it with a wrench. Finally, turn on the water and check for any leaks.
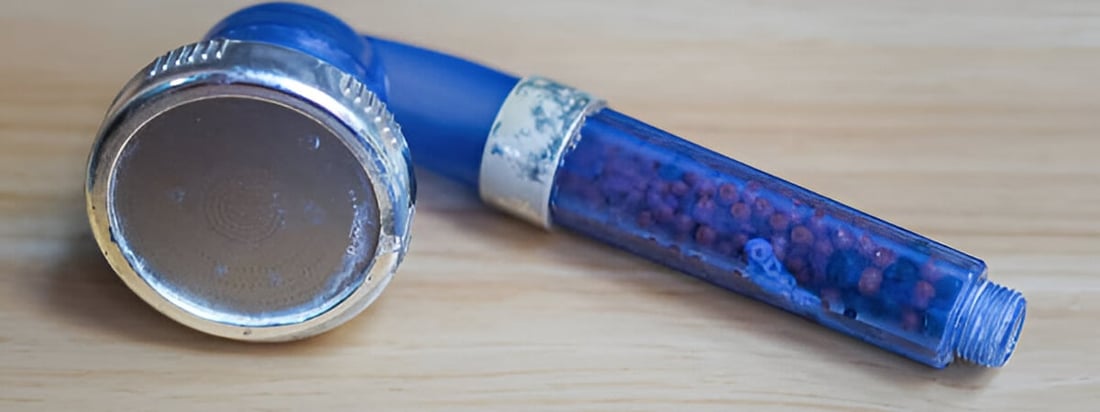
Installation for Shower Filters
To install a shower filter, start by unscrewing the showerhead from the pipe. Wrap Teflon tape onto the thread of the pipe and the filter head. Connect the filter, and attach your showerhead to it. Finally, turn on the water to check for any leaks.
What to Consider Before Purchase?
When considering purchasing a laundry or shower filter, it is important to take into account how long the filter lasts. Most filters last between six months to a year, depending on usage. Some filters can be recycled, reducing the impact on the environment. Additionally, you may want to consider the brand, cost, and effectiveness of the filter in removing specific impurities.
Filter Maintenance
To ensure the longevity of your filter, it is important to maintain it properly. This includes cleaning the filter housing and cartridge regularly and replacing the cartridge every six months to a year, depending on usage. Following manufacturer's instructions for maintenance will increase the lifespan and effectiveness of the filter.
Final Thoughts
Now that you know the benefits of, and how to install, laundry and shower filters, it is worth investing in for the sake of your family's health. Easy DIY installation can be done with a few basic tools and supplies, and maintenance is straightforward. Make sure to purchase a filter that specifically targets the impurities in your area's water supply, and follow the manufacturer's instructions for optimal use.